07 June 2011

More workbench

Now that the Jetta is out of the way, I was finally able to finish the other half of the workbench. Off to the right of the original bench on the back wall, I built another 8 feet on the side of the garage. Since this is a single car garage, however, I couldn't make the surface very deep, or I wouldn't be able to get a car in. And since it is so shallow, I can't hang any shelves on that wall above the surface. Well, I think I might still hang some above head-height where they won't be in the way.

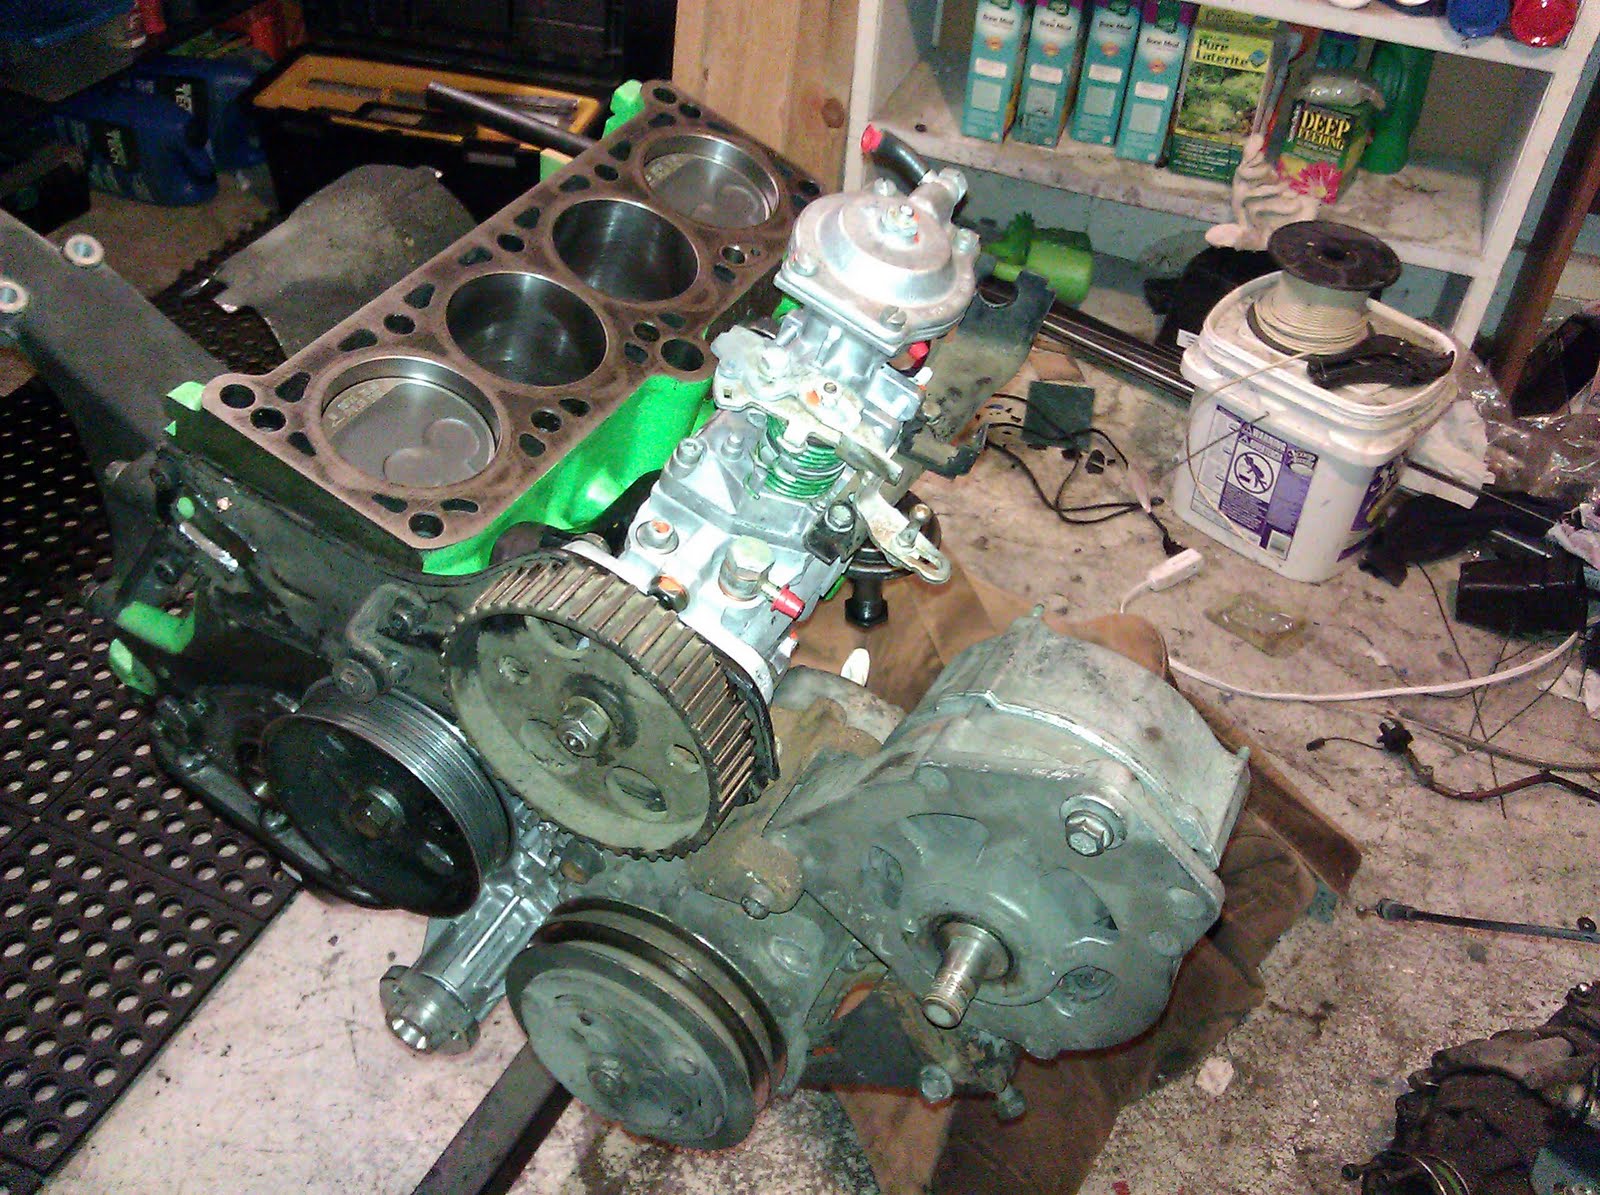
I also upgraded my drill press. The little $50 8" press was fine for wood but was simply not rigid enough nor could it go slow enough to drill 1/2" holes in steel or even aluminum (the bigger the hole, the slower RPM you need, and the little press's slowest speed was about 3 times too fast). My options were to spend $60 and many hours upgrading the little press, or spend $103 (on sale) for a new press and sell the old one for $40. So in essence the new press cost $3 using man-math. (Don't tell Lemontree I said that. ;) ) Unfortunately, this bigger 10" drill (which is way bigger than the mere 2" size difference would suggest, and something that came as a bit of a surprise when I opened the box) wouldn't even come close to fitting on my shallow work bench. So, I lag-bolted a couple of 2x4s to the bench and then bolted the drill press to that. It sticks out, but it's solid -- I can bounce all my weight on it and it doesn't even flex. I enjoy over-engineering things. :)

Oh and while I was playing with drill presses I made a drill organizer, seen behind the drill press. I have several drill sets that came in nice metal and plastic boxes, but over the years I've collected a bunch of odd bits that either didn't fit in the box or the box was lost or destroyed, so drilling a hole with each bit in a scrap of 2x4 solved that.

The other section of bench is going to be for reloading. I already mounted my press on the far right, though I still need to buy a little stool so I can sit in comfort instead of standing like I used to do in the pre-garage-revamp days.

I think I've going to start referring to the garage as my man-cave (again, Lemontree need not know this). Admittedly, we plan on getting some woodworking stuff that Lemontree will use out in the garage too so maybe I'll have to come up with a different name. Fortress of Awesomeness?

31 May 2011

The garage is empty


That is all.

24 May 2011

Ad-free, free Android apps

When I got my Android smartphone, I was looking forward to all the cool apps I could put on it. Then I discovered the cruel reality that you have to pay for apps (lame) or allow them to show you ads (super lame). At least the ad-laden apps are easy to spot since they all require the "Full internet access" permission, so I can reject them with extreme prejudice before installing them.

Anyway, since I'm cheap, and I hate ads (which is why I use a DVR to skip TV ads, and FireFox to block web ads), I've been forced to dig deep to find decent apps that are both free and ad-free. There aren't many, and most of them are crappy. Nevertheless, here are the hidden gems, the ad-free free Android apps I have on my phone right now.

File Expert (Geek Software Technology)
Really, Android should come with a file manager of some kind. This kind of omission is just silly. File Expert does the job, though the user interface is clunky (copy/pasting and other operations require too many tap-and-holds and too many sub-menus). It also puts itself in your notification bar, which is annoying (I hit Back repeatedly to exit completely and get it out of the bar). For ad-free and free though, I shan't complain.

Nudnik Calendar Notification (Amit Moran)
By default, Android only vibrates once when you have a Calendar reminder come due. Useless. This led to a lot of missed reminders until I installed this app. I have it set up to constantly vibrate, forever, until I acknowledge the reminder. Android should do this out of the box. This ad-free, free version is crippleware (many features locked out), but I don't miss reminders any more so it's 100% functional for me.

Mine Message (Lei YU)
Same as Calendar notifications, Android only vibes once when you get a text message. Again, useless, and the cause of many missed messages. Like Nudnik, I have it set to vibe forever until I read the message.

Moon+ Reader (Moon+)
Android can read text and html files, but using the web browser to do so is a pain (remember, there's no file manager, so you have to type a big long nasty URL to get to every newly added document). The display and search capabilities of the web browser are also limited. The other feature I really, really like on a reader is auto-scroll. That's where the text scrolls slowly by (at a user-adjustable speed) so you don't have to hit any buttons or swipe the screen to "turn" pages. Turning pages is so 19th century. Moon+ addresses all 3 needs with no ads and at no cost. The main menu is kind of clunky (a few extra taps that are really not needed to get to my docs) but on the whole it's a darn good app.

Replica Island (Team Replica)
Fun little game. Very difficult to play with the touch screen, fortunately I have a slide-out keyboard that works quite well for control.

Netflix (Netflix)
Just found this one today. Shame I'm too cheap for a data plan, so I can only watch when I have WiFi access.

Brightness Widget (Sisedi media)
Color smartphone screens are difficult to see in daylight yet are so bright they hurt my eyes at night. To adjust brightness takes a tap, a scroll, and another 4 (yes, FOUR) taps with stock Android. Ridiculous. Try doing all that in sunlight when you can't see the screen, or at 3AM when the screen is blasting your dark-adapted eyes with the visual equivalent of a theater spotlight in your face. This app (or rather, widget), lets you define three brightness presets -- night, indoor, and outdoor. Then you put it on your home screen and tap it to cycle through the 3 settings. Since you know right were the icon is, you can tap it "blind" in sunlight until you can see the screen.

MotoTorch LED (Ryan Alford)
This is neat. The built-in camera has a "flash", which is just a high-brightness LED. This app (with Widget mode) simply turns it on solid so you can use it as a flashlight. It's surprisingly effective, probably a good 10-20 lumens which is more than enough to navigate indoors or in the woods (maybe not so great with city light pollution). As a widget, it's easy to get to by just tapping the icon on your home screen, no sub-menus and junk to fiddle with.

ColorNote Notepad (Notes)
When I first got my smartphone, I found myself composing a lot of emails to myself so I could jot down notes. This takes care of that ugly kludge by allowing fewer taps to enter a note and easy retrieval of notes all in once place instead of scattered in my Inbox.

WiFi Buddy BETA (Andre Rabold)
There are a ton of WiFi apps out there, this one probably isn't the best but it works well enough that I can't be bothered to look for another. Shows a list of available access points and lets you tap on one to connect. Simple and effective, though a little buggy.

Ad-free free Speedometer
Yes, that's the name. I am so obsessed with ad-free, free Android apps that when I wrote one myself, I named it as such. Yes, I wrote an Android app. :) Stock Android will tell you your speed via GPS, but it's a torturous path to open My Tracks, start recording a track, and switch to the details screen to see the speed in little tiny numbers. Not that you should be operating a phone at all while driving, but this is particularly dangerous. Also, I don't like the privacy concerns of software recording my whereabouts. My app just shows the speed in great big numbers as soon as you tap it's icon, and that's it. That's pretty much all it does. Oh, eventually I will upgrade it to read in MPH, km/h, and knots, save your top speed, display your compass heading (N, NE, E, etc), and allow different display color schemes, but for now it's just a simple free speedo with no ads. It's not in the Android Marketplace, because it would cost me like $30 to publish it there (remember I'm cheap, and I won't be making any money from an ad-free free app). So if you want to use it you'll have to tell your phone it's OK to install apps from "untrusted sources" and download it from here.

23 March 2011

State Fair


Each child in Tiffany's fifth grade class-- in fact all the fifth graders in her school were assigned a state to study and report on. After this nearly one month project, they held a "State Fair" where each child acted as a tour guide of their state. They dressed as a famous person from the state and even handed out samples of local cuisine. Tiffany chose to study Illinois-- as that is where her dad served a church mission. It was difficult for her to decide between dressing as Abraham Lincoln or Jackie Joyner-Kersee, an Olympic athlete. As you can probably guess from the picture, she decided on the athlete. I made her two gold medals to wear, and cut the letters USA to tape to her jacket. Her food sample was even harder to choose. We considered and threw out the idea of getting a Chicago Deep Dish Pizza. She finally decided to give out Oreo cookies, as Illinois has the largest cookie factory in the world-- Nabisco.

Fire Lite CC LLC

That's the name of my new business! I just set it all up today. I made up a website, too. Come check it out at www.firelite.cc. That's where I'll sell my svg files, cards (plus a card mailing service!), and whatever else I come up with. Eventually, Corwin will include flashlights and other trinkets he will make on his lathe... once the Jetta is done.

07 March 2011

Me and my Cricut

Last fall I visited my cousin, and she showed me all the cool things she makes with her Cricut machine. Now, I'm not one to spend all my time decorating or scrapbooking. Still I was intrigued. I mean, how cool is it that you can make paper dolls, cards, scrapbook pages, decorate walls, make glass etching templates, etc, etc all with one little machine? So, yah, I was impressed. Machines were on sale for black Friday, and I decided to buy one. Now, there was a drawback that I could see, and it was buying cartridges. All the cool little design elements have to be bought separately via cartridges. Corwin encouraged me to search the internet for alternatives. This I did, and happily came upon a design studio for the Cricut called Sure Cuts A Lot. (Cricut also has its own design studio for purchase, but it is not compatible with making your own designs, and you still have to buy their cartridges). So for the price of a cartridge or two, I can make and cut practically whatever I want!

There's so much I've done with the Cricut already! The kids made simple valentines that were personal and unique for each of their classmates. I cut the words out to decorate our Primary bulletin board at church. We've made many cards besides.

I made our Christmas cards last year. I started out by designing a snowman family. It was quite fun. I paper pieced a few together. There were so many little pieces! It literally took me an hour to glue all the pieces on one card! After a few of them, I got smarter and decided to simplify my cards, so the rest were simply wreaths. :) I thought they were cute, and oh! so much less time consuming.

Lastly, I'm going to start offering my designs and cards, etc. for sale. I've just made a new blog site for this purpose. If you would like to follow it, it is located at http://firelite.cc.

12 February 2011

Alternator pulley done

One of the important steps was to make the outer circumference of the bearing as concentric (centered) as possible with the inner bore for the bearing. If the two are off, the bearing will run eccentric and hammer on the belt. To ensure concentricity (neat word eh?), I indicated my 4-jaw chuck on the bored hole to within .001", the most accurate I've ever been on my lathe.


Once indicated, I turned the outer circumference just enough to true it up. Then I mounted it on my rotary table -- that's a cool little tool that lets you mount things to it and then as you turn a handle, it turns a fairly precise number of degrees. So if you want six holes in a circle, you drill a hole, spin your rotary table 60° and drill another one, and so forth. This (theoretically) spaces the holes evenly, which is important for balance if your part will be spinning 15,000RPM.


My rotary table is 3" so normally the largest item I can work with is maybe 2", to allow room for clamping. However, since I had already made a hole in the middle of my pulley, I was able to do some creative clamping to just barely fit a 3" pulley on a 3" table. Here I'm drilling pilot holes -- smaller bits drill straighter, and then when I enlarge the hole with the larger bit it will "follow" the existing hole and you end up with a straighter and more accurate hole.


They say a poor workman blames his tools, well, my cheap Chinese drill press really wanders and worse, is way too fast for drilling 1/2" holes in metal. In spite of my care, some of my holes ended up in significantly the wrong place but oh well, we'll see how badly out of balance it is once the car is running. Once the Jetta is done there are some things I can do to the drill press to improve accuracy (just like you have to do on a Chinese lathe).

Then it was time to beat on it:


This was the most critical part of the whole pulley. Bearings are "press fit" which means that the bearing is smashed into a hole that is slightly (.0005" to .001") TOO SMALL for the bearing. This means the aluminum is actually deformed -- stretched -- and the springiness in the metal itself will squeeze on the bearing tightly so it doesn't fall out. In my case, the hole I bored on my lathe was still smaller than the bearing but not by as much as I wanted, so I used some red Loc-tite (essentially, a special form of super glue for metal) to ensure good grip.


...and here it is, installed on the car. Looks nice, even if I do say so myself.

So, the reason I did this was to push tension on the outer edge of the belt. This increases the "wrap" on the alternator pulley to nearly 180° as seen above. The stock setup I replaced pulls tension on the inner edge of the belt, thus reducing the "wrap" on the alternator pulley, which is then more likely to slip and squeal and eat belts.

I hope this works.

10 February 2011

Jetta update

Haven't posted in a while but I've been busy on the Jetta. Lemontree helped me put the engine in, so I've been busy hooking things up to it. And since I already had the dash apart anyway, I went ahead and did the heater core too since it's a right pain to get to.

Anyway, since I've gone the do-it-better-than-the-factory-did route for the alternator mounting, I need a tensioner pulley for the alternator belt. I got started making it but had more and more trouble until I realized I had to take my lathe all apart and adjust it again. Since I didn't really know what I was doing the first time, I didn't really adjust it right to begin with and then actually using it made things loosen up and move so it was time to start over with the carriage, cross slide, and compound adjustments. I also switched to a different type of cutting tool as the $5 Harbor Freight junk is, well, junk. That all done, I was able to make this:


That's several ounces of aluminum "chips", though aluminum makes such long stringy chips the phrase "bird's nest" comes to mind as a more appropriate name than "chips".

Here's the half-completed alternator pulley:


This 3" aluminum stock is about as big as my largest chuck can handle (definitely too big for the chuck that comes with the lathe). Though aluminum, it's still quite heavy for something going to be spinning 15,000RPM which is why I'm hollowing it out and will follow that with drilling some holes to lighten it further (and make it look cooler).

While I was making lathe improvements, I made a second chuck key for my 4-jaw chuck. Unlike a drill chuck which automatically centers the drill bit, each of the 4 jaws is independent so you can grip irregularly shaped pieces. This also means centering something round is done manually by the machinist one jaw at a time... or better, 2 opposing jaws at a time, which is why I made the second chuck key:


The left key is the one I made and the right key is the one that came with the chuck. By turning them together, I can shift the work piece left or right and that dial you see will tell me when I am centered (then I rotate the work 90° and do it again for the other set of jaws). At first I had tried it with just a single key and it's a real pain since the normal key is short and hits the dial indicator and you have to keep turning the work 180° and measuring again. That's why I made my key really really long so it would stick out beyond the dial without hitting it -- clever, no?

I had a hard time soldering the handle on my second key, too. I swear I am cursed when it comes to joining metal... I love cutting it but I sure hate getting it to stick together.

21 January 2011

Makin' stuff for the Jetta on the lathe

Even though Jettas came from the factory as either gas or diesel, some of the diesel-specific parts are NLA (No Longer Available) from the dealership or simply missing from the local junkyard. So when you don't have the parts you need, you make them!

When my engine came from the junkyard, it had a crushed the oil pan. Unfortunately, the turbo-diesel uses a special oil pan with an oil drain for the turbocharger -- a special oil pan that is now unobtanium. So I took a regular oil pan, drilled a big ol' hole in it, and made a threaded bung on my lathe. "Made" might be too strong a word, as I bought a brass fitting at Home Depot, chucked it in my lathe, and modified it. I can cut threads on my lathe, but that is an "advanced" operation that I don't have the time or tooling to tackle right now so it was faster to just buy something with the threads I wanted and cut away the stuff I didn't want.

Brass if fun to machine, by the way. It hisses and sprays a lovely golden glitter everywhere. It's like a Barbie glitter gun for men. Makes me want to make more flashlights out of brass than aluminum... but not until the Jetta is done!

Anyway, I attempted to solder my bung to the oil pan and completely and utterly failed. Solder stuck to my brass fitting but not the steel oil pan. Conceding defeat, Lemontree took it to her father, a career welder, and he brazed it (you can't weld dissimilar metals -- brass and steel -- so brazing, which is almost as good, is required). It may not be pretty but it'll be hidden inside the engine where no one will see it (arrowed in green).


Next up was a blockoff plate where the blowoff valve used to be. You'd think VW knew what they were doing when they engineered a car, but believe it or not, they stuck some extra stuff on there that is not needed. One of these things is a blowoff valve which is designed to prevent the turbo from over-boosting the engine... it's unnecessary because the turbo already has a wastegate to limit boost. And anyway, I sort of lost the little clamp that clamps the blowoff valve (oopsie) and of course the clamp is now unobtanium too (anyone that has one, needs it for their car!). Solution? Turn a blockoff plate on the lathe! Took a long time to saw off some 2" aluminum stock... I could really use a bandsaw, but just don't have a place to put it. :(


Plate made (arrowed in red above), I again (foolishly) tried to solder it on. Even more dismal failure. It seems I am not destined to work with hot metal, just cut it. Fine. This part is not subject to stress and only needs to hold back 15PSI of boost pressure, so, JB Weld that sucker on. Gotta get 'er done!!


Next I needed to mount the alternator. I'd lost the arm (yeah, I've lost a lot of things) that braces the top so I got some 1" x 1/8" flat stock from a metal supplier in town (well, Lemontree did... thanks Lemontree!), measured, drilled two holes in the drill press, cut to length, and ground down the sharp edges and corners (arrowed in red above). The thing is though, the alternator bolt hole is scooted over half an inch from where the arm is attached, so the arm either needed to be bent or I needed a spacer. Hm, making a spacer would require using the lathe, so... no brainer! Faced some 3/4" aluminum stock, drilled, and parted off to length (green arrow above). Since I haven't equipped my lathe with precision readouts yet, I eyeballed it and ended up .004" too short... ah well, close enough!

Next, I was somehow missing the correct lower alternator bolt. I had one that was too long but didn't have enough threads, so I just whipped out a die and cut some more threads, then cut the bolt shorter to a more convenient length. My hands now smell of the lovely sulfur-based cutting oil I used, mmmm, reminds me of Yellowstone.

Tomorrow the engine should go in. I hope.

18 January 2011

Boltin' more stuff on

VW diesels are a little unusual -- the pistons poke up above the surface of the engine block:


This is due to the extremely high compression ratio of 22.5:1 (your gas car is probably between 8:1 and 9.5:1) -- it needs to squeeze all the air into as small a volume as possible.

Due to this piston projection, you need to keep the pistons from crashing into the cylinder head. As the amount of piston protrusion varies based on your main bearings and wrist pin bushings (you recall I just replaced those), VW supplies three different thicknesses of head gaskets. Why not just use the thickest for maximum clearance? Well you can, but the lowered compression ratio will make your car hard to start in winter. So you actually want as thin as possible for cold start performance without being too thin and things hitting each other. I measured my piston stick-up and determined that I needed the thinnest gasket available. This made me a little nervous, but after I bolted the head on


and installed the timing belt


I was able to turn the engine over just fine without the pistons bumping into anything. Whew!

11 January 2011

Boltin' stuff on


Bolted on the windage tray, oil pump, oil pan, water pump with upgraded rubber gasket (better than fiber, and re-usable), A/C bracket, A/C compressor, front crank mainseal, intermediate shaft seal with pulley, oil galley plug (machine shop forgot to reinstall -- grr), injection pump brackets, and injection pump with sprocket. Discovered the crankshaft sprocket bolt VW sold me was totally wrong (what is with me and bad parts?!), and also the water pump pulley is wrong (see?!).

A lot of the parts I'm bolting on are rusty and dirty, unlike the eat-off-it-clean and painted engine. I don't care. No time for pretty.


You can also see a mock-up of the alternator, this is just a random spare I had from somewhere I used to see how things will fit. The stock VW alternator tensioning system leaves a lot to be desired, so I will be making a new and improved one (having a lathe rocks :) ).

I could have had the engine in the bay this week if VW had sold me the right bolt -- tomorrow the head should go on, and once that is done (and I get my bolt) it's ready to install. I think.

07 January 2011

Found 'em

Can you spot the all-important engine-bolt-bag in this picture?

Just kidding, it's not there, it's safely in the garage where I'm about to start using it tomorrow. Lemontree found it in the place I'd looked about six times.

06 January 2011

Go watch Inception

...and in an attempt to set a record three postings in a day, let me say how awesome Inception is!! The best movie ever made, is, of course, Star Trek II: The Wrath of Khan. But Inception just made #2 on my list. After the first time I saw it, I thought it was great and deserved to be the #3 best movie ever made, but it just came out on DVD -- and after watching it again, now I think it's #2. That's how good it is.

Fantastic (and very very appropriate) soundtrack, stunning visuals, good acting, good casting, good plot, good script... admittedly there are a few minor holes in the story but who cares when the other 99.9% of the movie is stuffed with awesome like a giant teddy bear stuck in the stuffing machine?! This movie makes you think, but isn't boring. Stuff happens fast, but it's paced so it doesn't wear you out. Unexpected things happen to keep you off your feet, but you aren't beaten over the head by obvious plot devices. This movie has subtleties: man I love subtleties, and they are so rare in movies.

I even, dare I say it, wasn't bothered by a little bit of shaky camera -- those of you that know me know I hate shaky camera movies (i.e., the second and third Bourne movies were totally ruined by the epileptic camera guy overdosing on meth). And I'm sure I'll catch some flak from you by admitting this, but Inception used it correctly -- i.e., sparingly -- and Made It Work.

So few movies are worth watching these days. This is one of 'em.

Anti-fatigue mats

Unfortunately, now I can't find the big bag of nuts and bolts that hold various parts on the engine... so tomorrow will be an excavating party in the boxes of Jetta parts to find it. In the meantime, I installed some more rubber mats to go all around the workbench. I got one of them a couple years ago and they make a HUGE difference when you're standing on concrete. Those things would still be a deal at twice the price, in my opinion.


I cut these a little to fit, easy to do with a utility knife. The sections snap together with little nubs. Dirt and swarf fall down in the holes, so you don't slip or get metal slivers embedded in the soles of your shoes. The mats still lift easily so you can sweep under them occasionally -- say, annually, or whenever the holes look like they're about to overflow. ;)